No Worries Delivery & Site Preparation

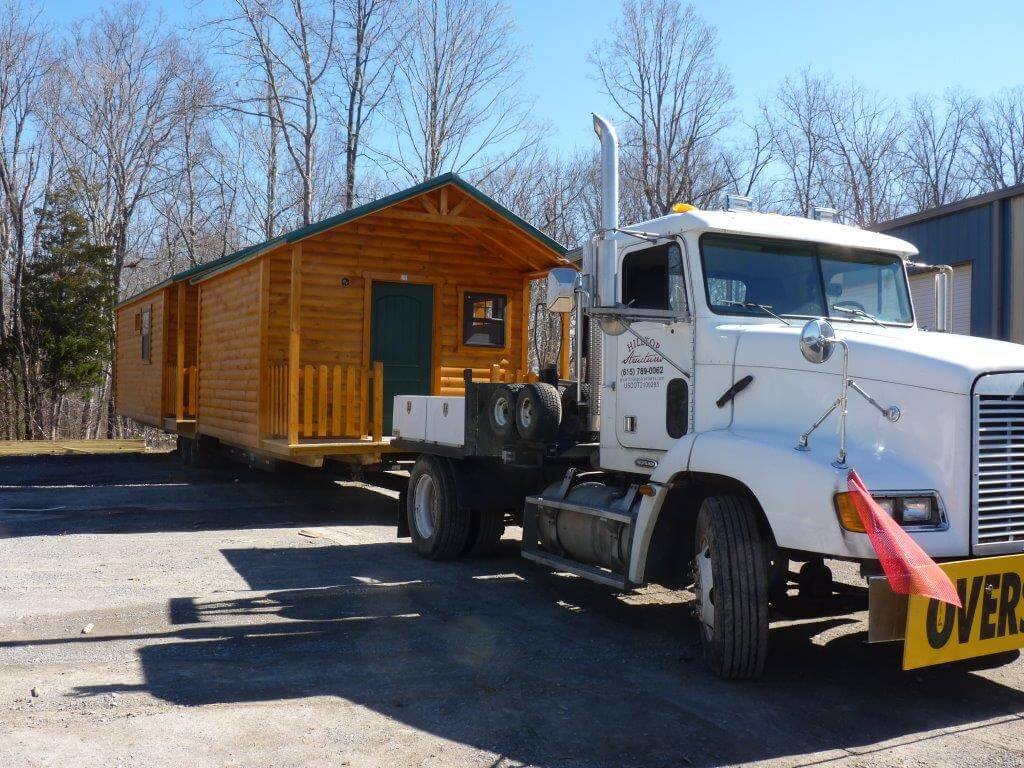
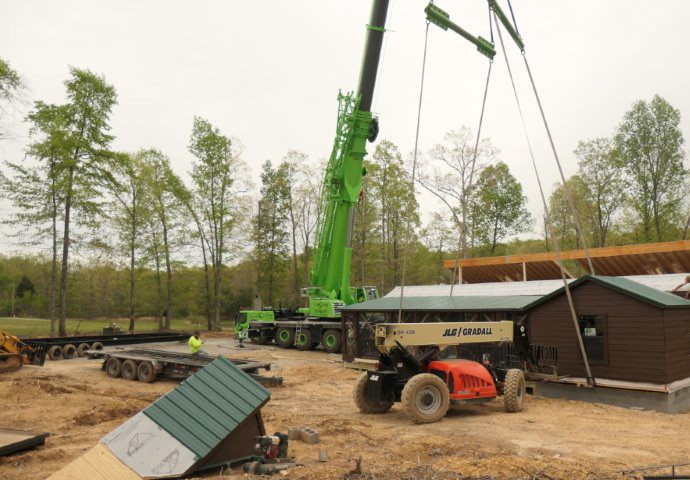
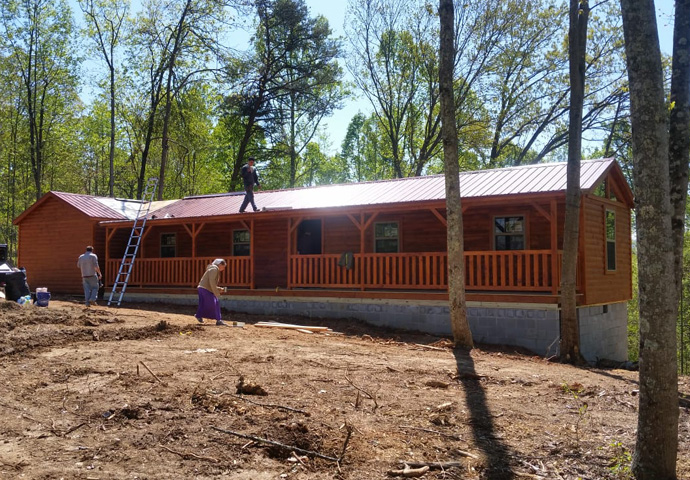
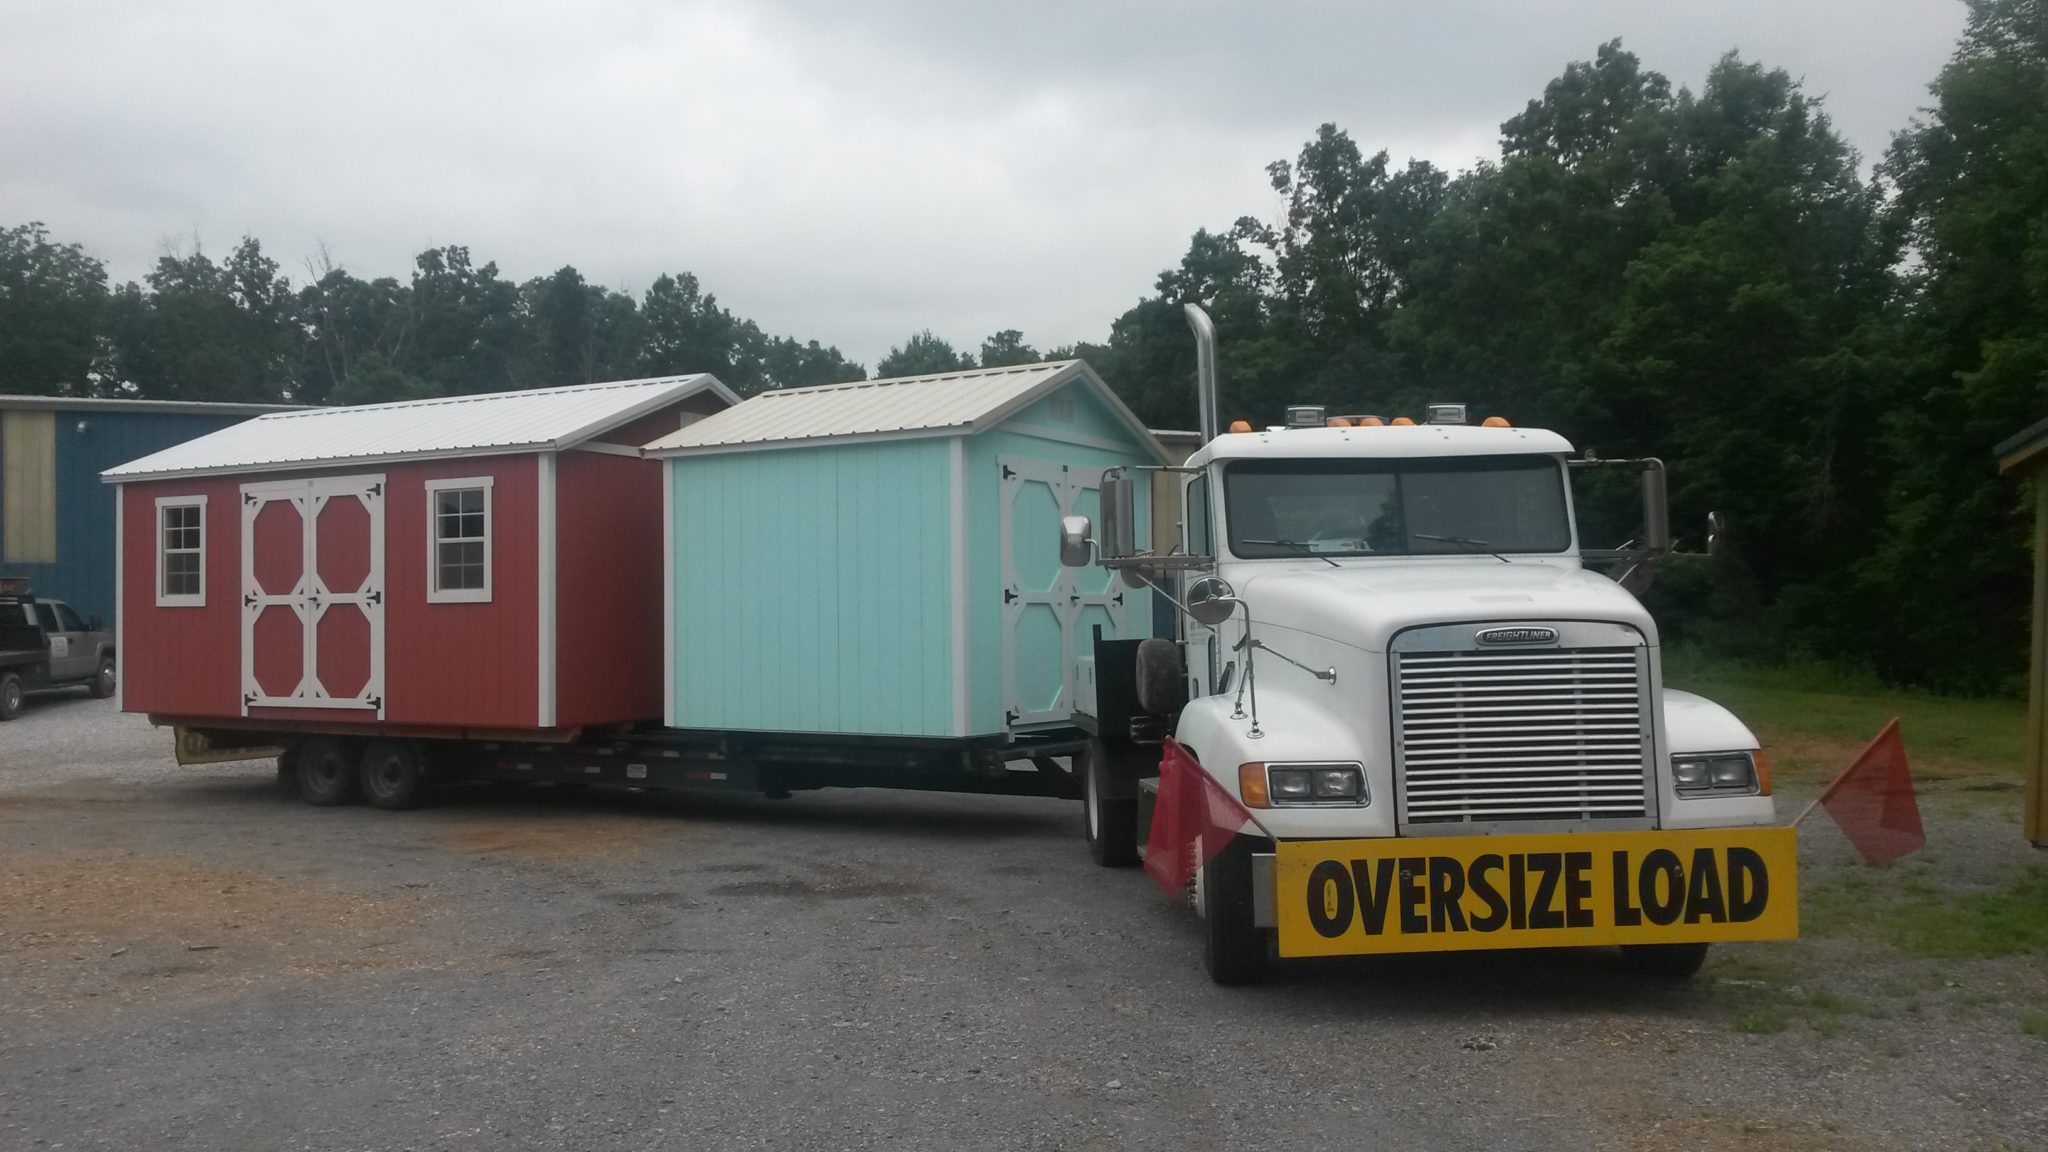
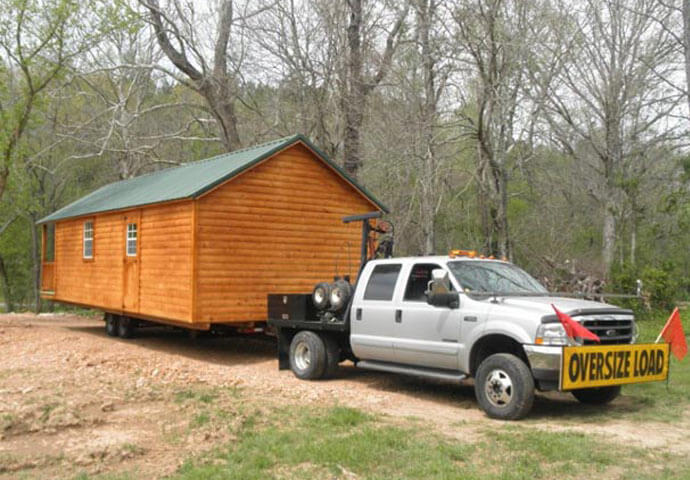
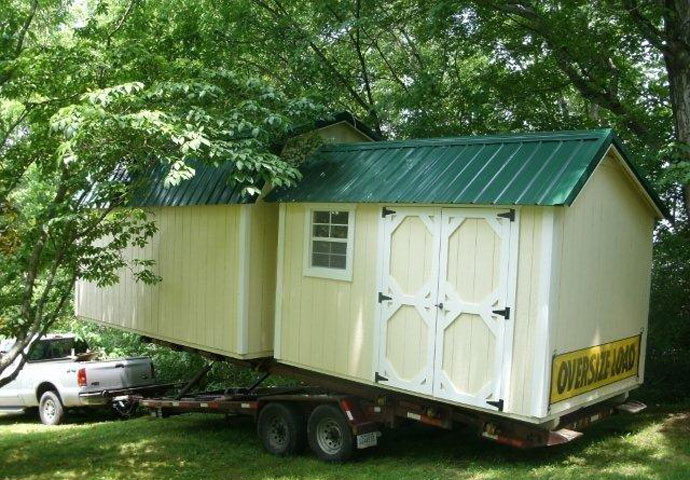
We can deliver and set up your new building on your prepared site.
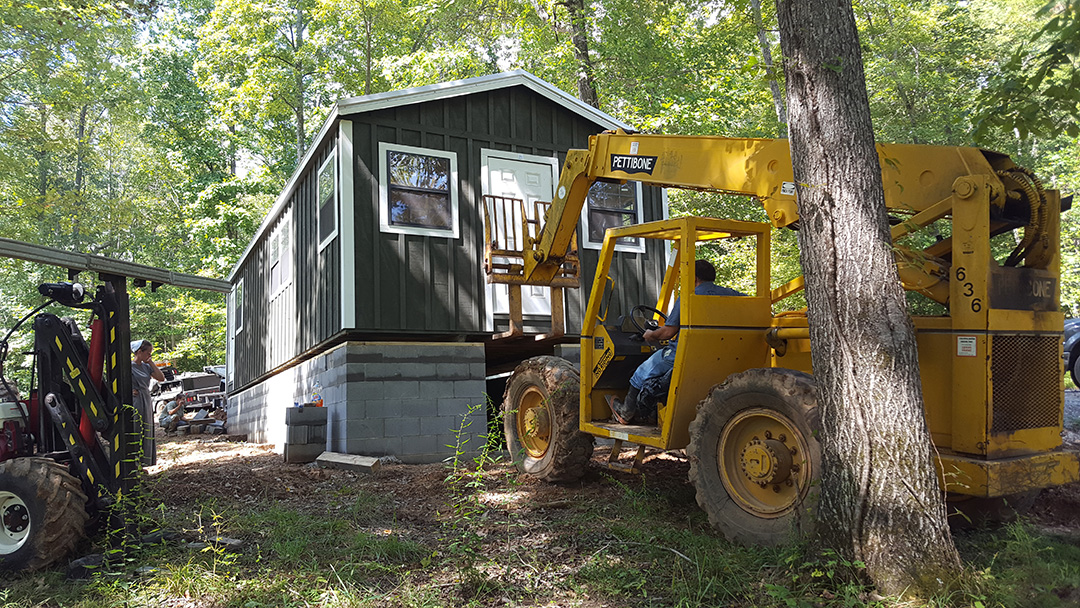
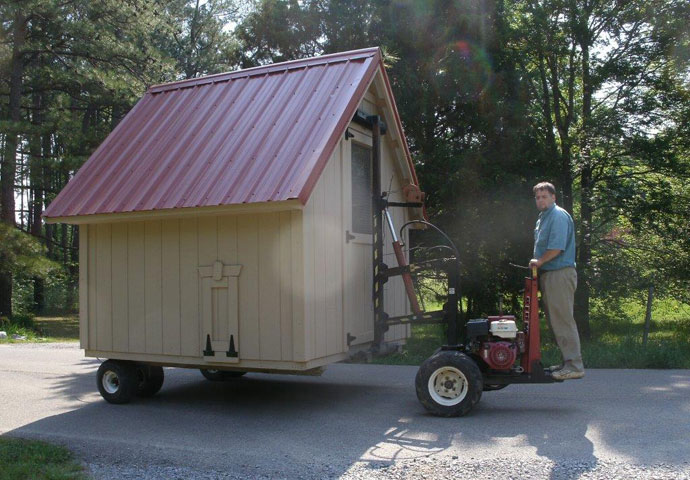
Don’t worry about setting up your new building in your yard if you have landscaping, a sprinkler system or manicured lawn.  Our mobile transport unit (aka “The Mule”)  easily moves your new building across your yard without damaging your lawn or equipment!
1-29-10-SNOW!-015

Our Secretary is here to assist you with any questions about the buildings or to fill out paperwork for an order or give you a free quote on your building.

Cabin Setup

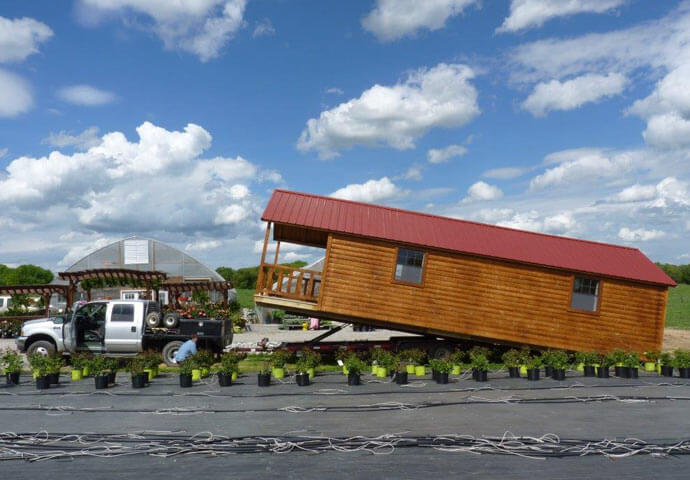
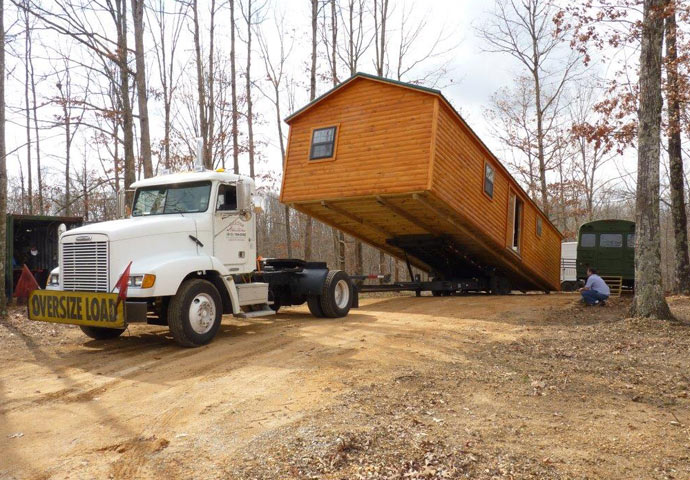
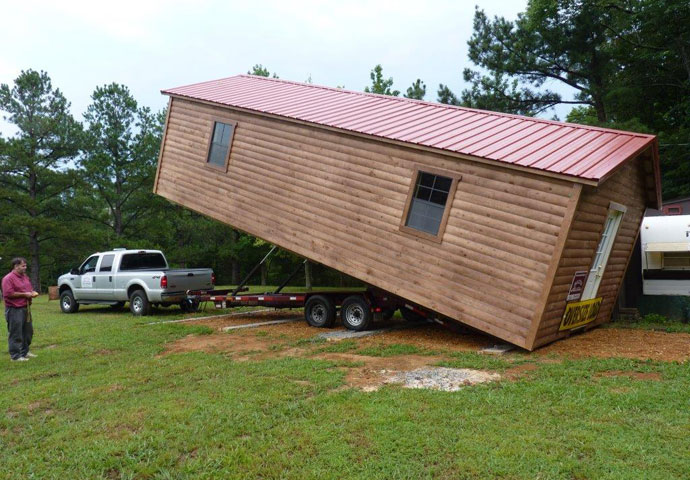
Our method is to deliver the cabins directly off our trailer onto the piers, footings, gravel or concrete pad. For this option to work, the piers must be less than 24″ above grade to allow our trailer to back in between them and offload. The ground between the piers must be dry, level, and compacted (no fresh fill). There must also be a minimum opening of 10′ between the piers. The trailer will back in between the piers, tilt up and set the rear edge of the cabin on the rear piers. The truck and trailer will then carefully drive out from under the cabin, setting it gently down on top of the piers. We require 60′ clearance straight out from the end of the site so that our delivery rig can pull out from under the cabin. The center piers will need to be flush with the ground and we will use concrete blocks to level and support the center of your building. We will let you know how many blocks to have onsite for this.

Delivery & Site Preparation

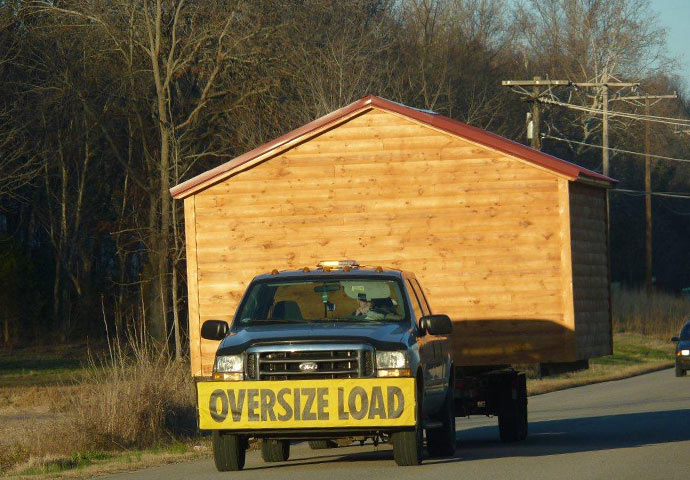
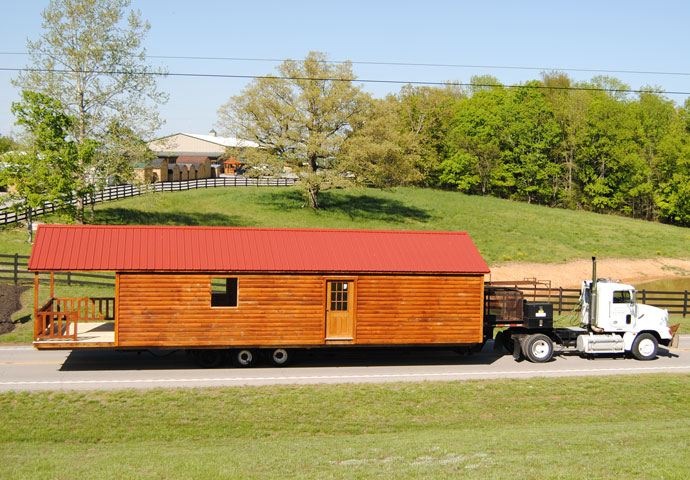
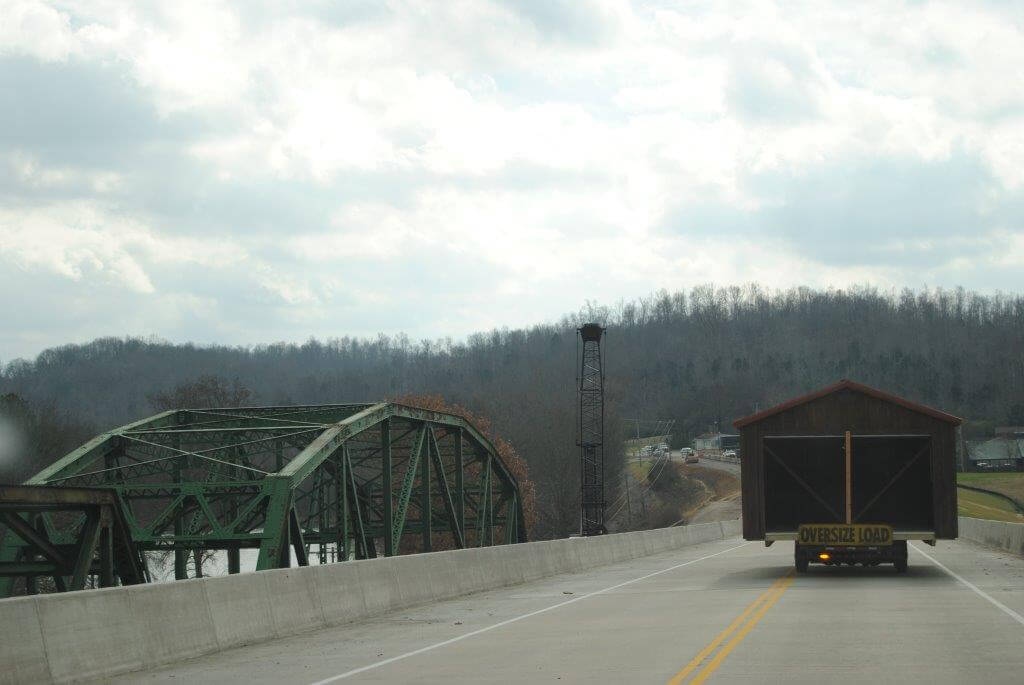
We can transport buildings as large as 16′ wide and 50′ long as well as multiple cabin modules.

Site leveling and preparation is the purchaser’s responsibility and Hilltop Structures cannot be responsible for any adverse effects an unlevel pad may have on your new structure.

Sites must ready BEFORE the driver arrives with your structure. Our drivers will do their best to satisfy you with positioning your structure. Thank you for your kind consideration in this area.

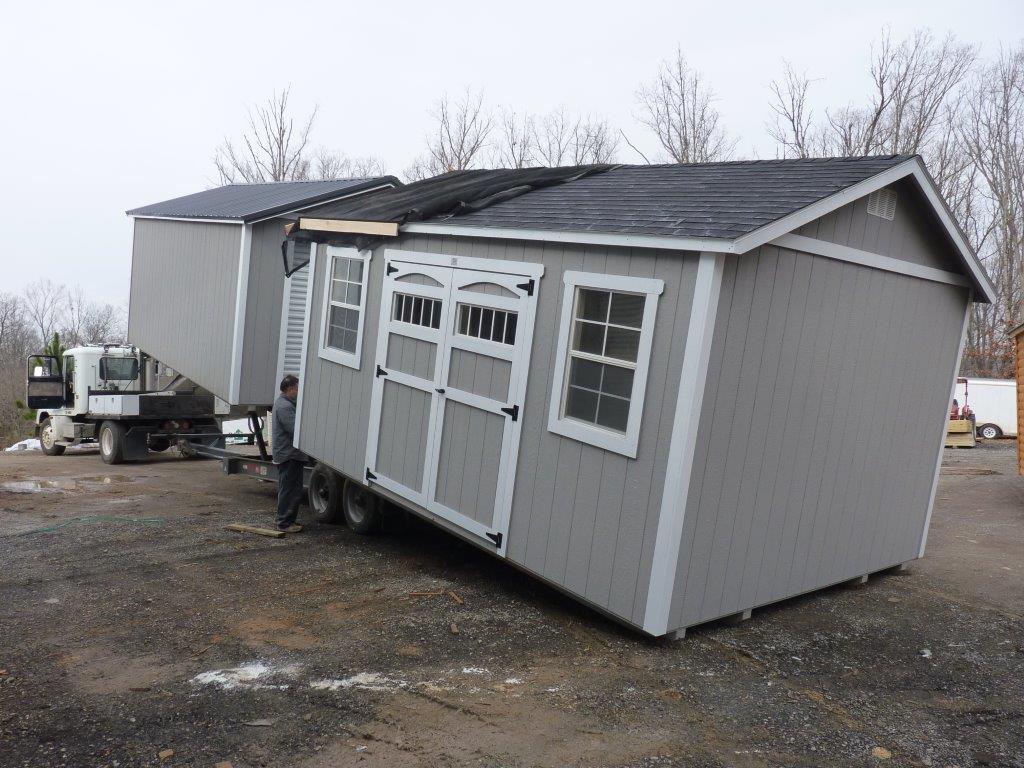
When preparing your site know that we must back our trailer out over your site. It is best if the rear tires of the trailer can be with 6′ of where you would like the back of the shed to be placed. We then tilt our trailer and pull away from the structure, dropping it at the exact location you specify.

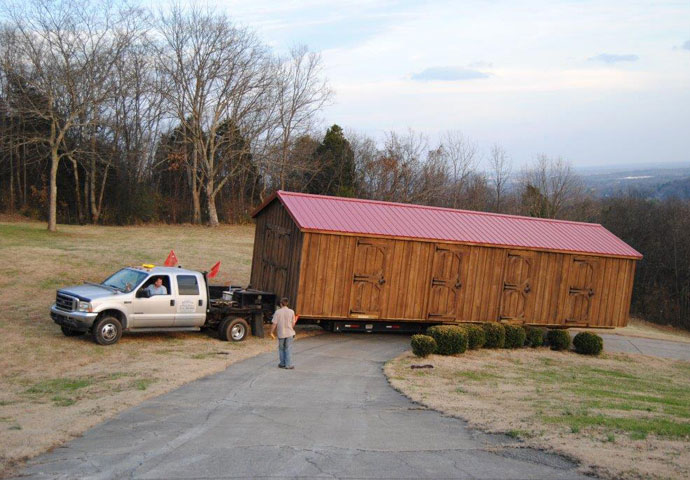
If your site is not accessible for backing into the site, we have a Mule (See our website for demonstration of this little machine.) which can move the buildings into tight corners where our truck and trailer are unable to maneuver into. We do however need trees / limbs trimmed back 24” further then the width of the building you ordered. (for example if you order a 16’ wide building please have an accessible driveway 18’ wide and we need 14’ vertical clearance as well for most buildings. If you have sharp corners we need the inside corner trimmed back an extra 24” to make the corner.

The best and easiest way to level and prepare a site for a shed is to have a base of #2 crushed stone 3 to 5 inches thick leveled and tamped. It is best to make this pad about 1′ larger on all sides than the shed itself. This allows for good drainage underneath the shed and packs together well for a good, hard, long lasting pad. Other size stones may work as well, however, if the stones are too large they do not pack together well. Round stones or washed stones are not recommended because they do not provide a firm pad for our delivery equipment. Other leveling options include gravel or concrete.

For larger buildings we highly recommend concrete footings before placing blocks under the skids. Just using dirt for a base for the blocks is NOT recommended, especially on larger sheds. Blocks tend to settle unevenly and you will have problems with your doors & windows not working properly unless you relevel and shim up the building periodically. We have drawings to show you exactly how to build the footings if you request them. We suggest digging a trench 12 – 16” deep, 18” wide and make them the same length as the width of the building. For example if you buy a 14’ wide shed your footings should be 14’ long. 12 – 16” deep, 18” wide & 14’ long. We will then block up your building to make it level or if you have the blocks there will block it up for you to make accessible to get underneath the building. (24” max lift)

Horse Barns

Horse Barns and Combo / Utility barns may be set on almost any level surface. The best site is 3 to 5 inches of Stone Dust (a very fine, crushed stone). Leveled and compacted stone dust makes an excellent pad with good drainage. Chert or clay may also be a alternative for a pad and although we will set them on any relatively level site we aren’t responsible for any issues such as twisting or racking of the barn. We will make sure the doors latch properly but don’t level up barns with blocks.

Anchor Kits

There are several methods that may be used to anchor your new structure to a foundation, pad or site. The best method to use depends on the style and size of the structure, what the structure will be used for and also the type of foundation or site prepared.

Here are some options that will help you understand how buildings may be anchored:

Option #1

MUST BE INSTALLED PRIOR TO DELIVERY

While pouring concrete slab, footers or pillars insert flexible steel strapping at appropriate locations and spacings. Each strap should be 6′ long x 1″ wide. 18″ of this strap is installed into the wet concrete and the balance is left sticking out. When the structure is delivered this strapping is bent flat, the building is set, and the strapping is then bent up and fastened into the base of the structure. NOTE: Contact us for exact location of 4×6 skids

Option #2

We have an anchor rod we can drive into the ground and we will lag to the building after we deliver the building. This method is recommended only for smaller buildings and to meet codes. For larger buildings and especially cabins we recommend option #1!

Footers Are Needed For Large Cabins

STONE PADS:

For details on how to install a stone pad for a cabin see ‘site preparation.’ A stone pad works great for buildings if you are placing them directly on the gravel pad (no blocks) as they are quick, cheap and easy to install. Also should you ever decide to move the cabin a stone pad is easy to get rid of and very non obtrusive. Stone pads are most commonly used on smaller, single story cabins with no water/sewer hookups. As far as the structural integrity of the cabin is concerned almost any size cabin with a standard wood floor will work fine on a stone pad. If you are running water and sewer hookups to the cabin a stone pad is still possible but less popular. The case against a stone pad for some size cabins is the fact that the cabin will float and heave with the land due to natural freezing and thawing and frost. Also many town codes have a size limit for cabins that may be set on a stone pad. (depending on your location and the size of the cabin)

CONCRETE PIERS:

Concrete piers are generally 18″ in diameter and dug into the ground 24″-36″. The cabin may be placed on these concrete piers and still have the standard wood floor with 4×6 PT skids and Floor Joists. The exact location and spacing of these concrete piers will need to be coordinated with HillTop Structures so the skids of the cabin rests directly on the piers. The advantages of concrete piers include the fact that it usually very reasonable and efficient from a pricing stand point. The piers extend below the frost level in the ground so your cabin will not float or heave with the frost. This can be an advantage when hooking up to utilities. Also if code requires a permanent foundation this may meet their requirements. The area in and around the concrete piers is usually filled in with clean stone to allow good drainage, be sure the stone is at the same level or below the top of the concrete piers. NOTE: We have a recommended Excavator who is experienced in installing these piers and will ensure you have a professional job and will be level.

CONCRETE FOOTERS:

If the size or design of your cabin requires too many concrete piers to be efficient Concrete Footers may be an option. This is usually a 16″ – 18″ wide trench dug 12” – 24” deep, the trench is then filled with concrete giving you a very solid footer. The footers need to run perpendicular to our 4×6 PT skids and are usually placed every 10’ – 12’ throughout the length of the pad. For example if your cabin is 16×46 and has the standard wood floor it will have a total of (4) 4×6 PT skids running the 46′ length of the cabin. Your footers would be installed running the 16′ width of the cabin so every skid runs over the top of every footer. Again this will keep your cabin from shifting with the frost heaves and can be fairly simple to install. The area between the footers may be filled in with clean stone, similar to concrete piers.

CONCRETE SLABS:

Concrete slabs may be poured with a trench left open where you want your hookups to go under the cabin. Continue the trench out past the edge of the cabin several feet to give you room to access the hookup area. Concrete gives you a solid surface to set the cabin on. Plumbing such as water supply and sewer hookups can be done later from the trench, this trench can then be closed in with PT wood for future access to your hookups.. A solid concrete slab makes an excellent and easy site to place a cabin. Also it will make it nearly impossible for rodents to dig their way under your cabin where they can be a nuisance.